As the seasons change, our homes beckon for a touch of warmth and charm, especially during the festive times. One delightful way to embellish your space is by crafting stunning 3D cardboard stars. Whether you’re gearing up for holiday decorations or seeking a unique touch to your everyday home styling, these stars can transform your decor into a captivating display. They’re not just visually impressive; they’re also a fantastic DIY project that can engage your creativity and provide a sense of accomplishment. Get ready to adorn your home with vibrant textures and shapes that speak of the joy of crafting!
Why Choose Cardboard?
When it comes to sustainable crafting, cardboard is a top contender. This versatile material is light, easy to work with, and often readily available, making it a preferred choice for eco-conscious crafters. Not only is it cost-effective, but using cardboard also promotes recycling and repurposing, aligning perfectly with modern eco-friendly decor trends. Your cardboard stars can be painted, adorned with glitter, or left in their natural state for an understated look that complements any seasonal theme from glitzy holiday celebrations to rustic autumn gatherings.
Selecting Your Materials
Before diving into your crafting adventure, gather the right materials. Start with sturdy cardboard for durability. You can use old boxes—think shipping or leftover packaging materials. A craft knife or scissors will be essential for cutting your shapes, while a ruler and pencil will help ensure your stars are symmetrical and uniform. Don’t forget items to decorate your stars: paint, glitter, fabric scraps, or even twine can all add a personal touch and elevate your festive inspiration.
Tip: When cutting your cardboard, score the lines lightly first with your craft knife. This technique gives you a clean edge and prevents the cardboard from tearing, ensuring a polished finish.
Crafting Your Star Shapes
Begin your star-making journey by transferring your designs to the cardboard. A classic five-point star is a delightful choice, but why stop there? Explore different shapes, such as six-pointed stars or even complex starbursts for a dynamic twist. Trace your shape, ensuring you have at least two identical stars for a 3D effect. Cut them out carefully, and if you’ve decided on a layered star, cut additional stars in slightly smaller sizes.
Handy Tip: If you’re crafting with kids, provide simpler shapes to keep them engaged, such as a basic five-point star, and gradually introduce more complexity as they build their skills and confidence.
Creating the 3D Effect
To craft your stars into eye-catching 3D models, you’ll need to add depth and dimension. One popular method is to fold the points of the star inward slightly. To achieve this effect, start by making small incisions at the points of your star (about 1 inch deep). Then, fold each point toward the center and glue or tape them in place.
Consider this: Use a small piece of string or wire to create a hanging mechanism if you’d like to suspend your stars from the ceiling or windows. Simply attach it to the top point before securing it into 3D shape. This little detail can elevate your seasonal decor, especially during the holidays when you want to maximize the sparkle and enchantment of your setting.
Painting and Decorating
Once your star shapes are in place, it’s time to unleash your creativity through painting and decorating! The color palette you choose can set the mood for your space. For winter holidays, consider shimmering golds and silvers, while warm reds and greens exude a cozy autumn vibe.
Don’t shy away from texture! Use sponges or brushes for different painting effects, and consider adding layers of glitter or sequins for a glorious sparkle. For a more rustic touch, wrap parts of your stars in twine or fabric strips.
Fun Idea: If you want to create a festive garland, string several stars together, spacing them apart. This can be a charming focal point above a mantel or on a door frame, enhancing your seasonal decor.
Exploring Seasonal Themes
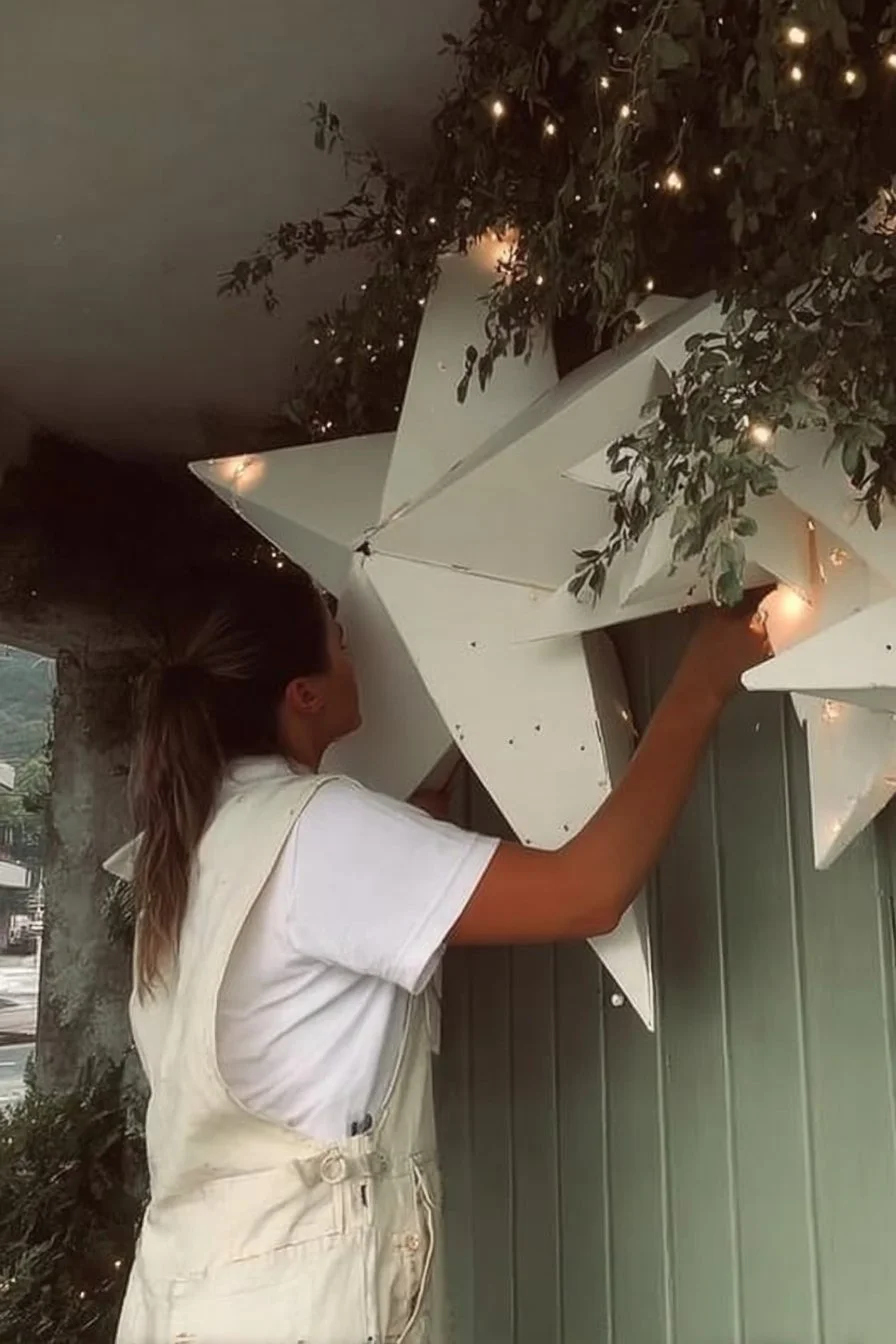
As you craft your stars, think about how they can reflect different seasonal themes. For Christmas, you might create a variety of sizes and colors, pairing them with evergreen garlands and fairy lights for an enchanting display. For Halloween, craft black and orange stars adorned with bat silhouettes or spooky glitter. In spring, light pastels and floral patterns can breathe life into your decor, making these stars perfect for welcoming in the warmer days.
Inspiration: Think about using themed paper or fabric from local craft stores to lend specific seasonal motifs, whether that’s snowflakes for winter, sunflowers for summer, or falling leaves for autumn. This will add an extra layer of personalization to your home styling.
Involving Family and Friends
Crafting 3D cardboard stars can be a heartwarming group activity that brings together family and friends. Set up a crafting evening with bites and music; everyone can work on their stars, share creative ideas, and enjoy each other’s company. This shared experience not only sparks joy but also creates cherished memories. Over time, you’ll have a dazzling collection of stars, each telling a story of laughter and camaraderie.
Consider this: Host a themed crafting night where everyone brings their favorite decorations. This can lead to delightful exchanges of ideas and techniques, thus enhancing your overall crafting skills while deepening relationships.
Conclusion
Creating 3D cardboard stars is a charming and resourceful way to bring warmth and personality into your home during any season. These stars not only serve as beautiful decorations but also embody creativity, sustainability, and family bonding. So gather your materials, unleash your artistic flair, and let your stars shine brightly in your seasonal decor. Whether you opt to hang them, place them on a tabletop, or string them as garlands, the impact of your handcrafted stars will undoubtedly elevate your festive inspiration, making your space feel inviting and brimming with joy. Happy crafting!