I still remember the first time I had the idea to change a room with something as simple as slats on a wall. As an American mom in my forties, with an energetic son and thoughtful daughter aged 8 and 11, small projects are how I keep our house feeling like a home. My mother used to line her kitchen with beadboard when I was a kid, and I can still hear the sound of her laughter while she painted. My husband and I love inviting neighbors over, and these little upgrades always spark conversation. Whether I’m balancing carpools, family dinners, or backyard soccer, wall panelling has become my go-to for adding personality without a huge budget. If you like family-friendly DIY ideas, this quick guide will inspire you to try easy, stylish wall panelling that fits real life and real schedules.
Section 1: Why Wall Panelling Works for Modern Home Décor
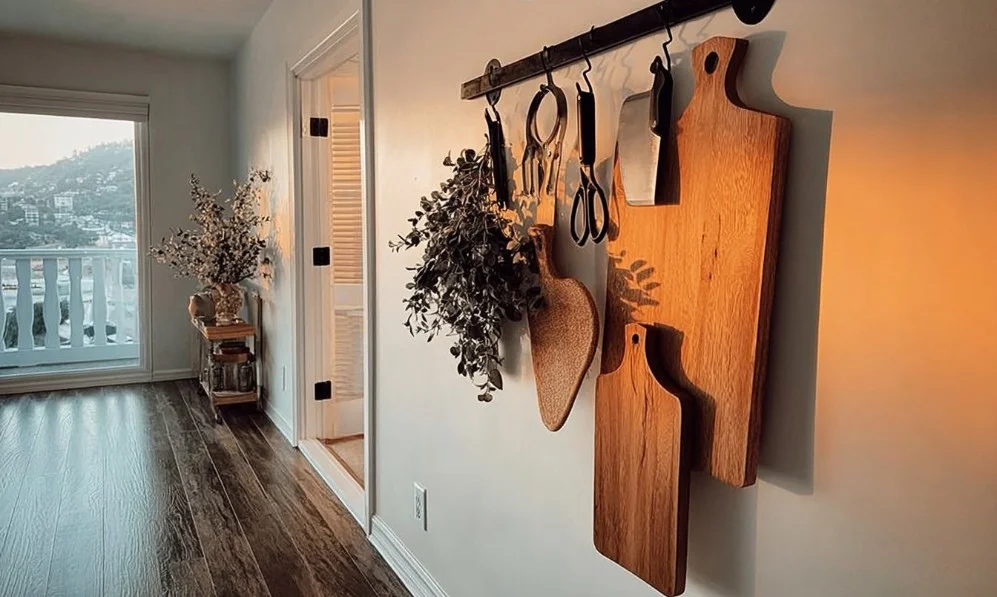
Wall panelling is a classic interior styling trick that refreshes a room’s look, adds texture, and increases perceived value. For busy households, it hides imperfections and creates a focal point without expensive renovations. Start by choosing whether you want a full-room treatment or a single accent wall behind a sofa, bed, or console. Measure carefully and consider ceiling height when selecting panel height. Practical tip: use lightweight materials like MDF or foam for easier handling and lower costs. For decorating tips, pair panels with simple crown molding to frame the space. I once wrapped a hallway in soft gray panels to match my daughter’s art gallery; neighbors stopped by to ask how we did it, and it felt great to share inspiration.
Section 2: Board and Batten – Beginner Friendly and Budget Wise
Board and batten is the easiest panelling style for first-timers. You need plywood or MDF boards cut to size, narrow battens for vertical lines, construction adhesive, a nail gun, spackle, primer, and paint. Start by marking vertical lines on the wall using a level and spacing battens evenly for visual balance. Attach the backer board with adhesive and brad nails, then add battens. Caulk seams and sand any rough spots before priming. For quick success, paint in semi-gloss for durability in high-traffic areas. A friend and I once did a half wall in my dining room during naptime windows; the kids were thrilled to see their crafts displayed on the finished ledge. For more family-friendly project ideas, check out this collection of DIY resources.
Section 3: Raised Panel Look Using Foam Molding
If you want a refined look without heavy carpentry, foam molding is a lifesaver. Lightweight, easy-to-cut foam trims mimic real wood and are paintable. Layout a grid using painter’s tape, cut foam strips to fit, and adhere them with construction adhesive. Foam is forgiving if you need to move pieces during placement. Use spackle to hide seams and prime with a bonding primer before painting. Styling tip: paint panels a deep navy and add brass fixtures for a sophisticated contrast. I used foam trims in my bedroom, and my father-in-law, who grew up around traditional woodwork, was impressed by the finished result. Foam is ideal for renters too, since some adhesives peel cleanly.
Section 4: Picture Frame Molding for an Elegant Touch
Picture frame molding creates a custom, tailored look that suits dining rooms and living rooms. Plan a layout by sketching frames on paper; consistent spacing is the key to a polished effect. Use thin strips of MDF or pre-made molding, and install frames using finishing nails and wood glue. Keep frame sizes proportional to the wall size; large rooms can take larger frames. Once installed, prime and paint the frames in a contrasting or complementary shade. Styling tip: mount a gallery of family photos or a mirror inside one frame for depth. My sister and I once transformed my parent’s bland entry with this technique, and their home suddenly felt more refined and welcoming.
Section 5: Shiplap and Horizontal Planks for Cozy Character
Shiplap remains a popular interior styling trend because it creates warmth and visual length. Choose planks with tongue-and-groove edges for tighter seams. For a smooth install, start at the bottom and work up, staggering joints and using screws into studs or adhesive for drywall. Sand lightly and finish with paint or a whitewash for a coastal or cottage feel. Practical tip: pre-paint planks before installation for faster results. I put shiplap behind a reading nook where my son likes to build forts; the horizontal lines add a cozy cabin vibe and hide little scuffs from playtime. Keep decorating simple with floating shelves and a couple of framed prints.
Section 6: Styling Your New Panelling – Decor Tips That Stick
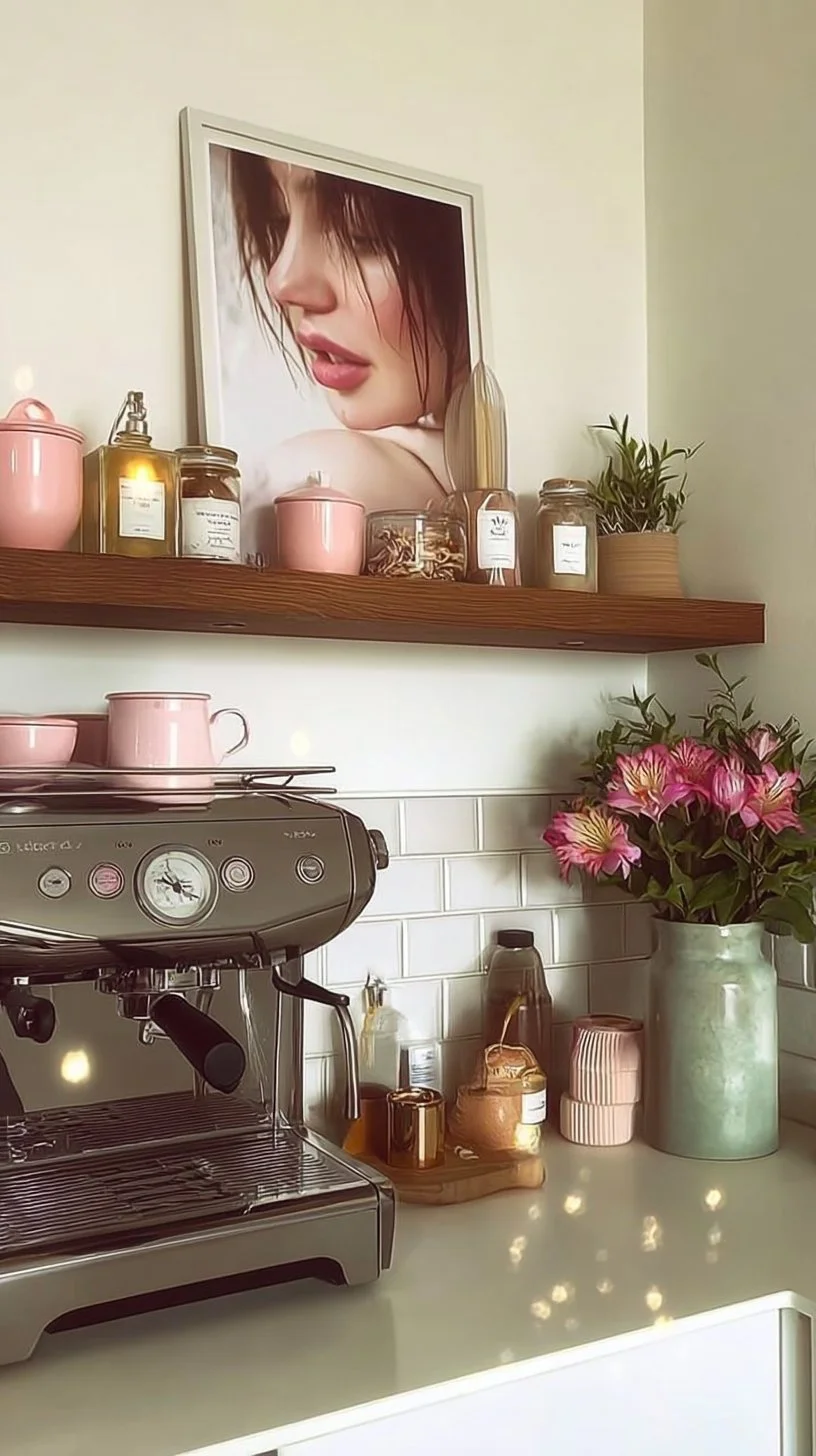
Once your panelling is up, styling brings it to life. Use contrast paint colors to make grooves pop or match panels to trim for a seamless look. Add floating shelves, wall sconces, or hooks for functional flair. Incorporate textiles like a tapered rug or window treatments to soften hard lines. For family photos, use slim floating frames that don’t cover molding details. Light layering works well: one large statement piece flanked by smaller items prevents clutter. When we added panels to our playroom, my daughter hung a corkboard inside one framed section for rotating art; it keeps the room tidy and gives her pride in displaying work. Remember to balance the room so panelling enhances rather than overwhelms.
Conclusion
Wall panelling is a versatile way to elevate your home décor, offering countless styling options that suit busy families and DIY beginners alike. Whether you choose board and batten, foam molding, picture frame trims, or shiplap, these decorating tips can help you create a polished look without a major remodel. For clear step-by-step examples and more ideas to get started, explore 9 Easy DIY Wall Panels to Add Character to a Wall. Try one small wall first and enjoy how a few simple changes bring fresh inspiration to your space.