Crafting a Christmas Paper Chain in Four Easy Steps
As the chilly December air wraps around our home, I often find myself reminiscing about Christmases gone by. The faint sound of Mariah Carey’s holiday hits playing in the background fills our cozy kitchen as my husband brews his favorite spiced tea, and my kids—Danny and Lucy—dash around the house in excitement. This time of year, I’m transported back to my own childhood, where the scent of pine mingled with laughter and the warmth of family. One of our favorite traditions is creating festive decorations, and I delight in sharing my passion for crafts with my children. This year, we decided to make our own Christmas paper chain—a simple yet engaging activity that brings us all together, just like my parents did with me. Making a colorful paper chain is not only a fantastic way to decorate our home but also a memorable experience for the entire family.
Why Choose a Paper Chain for Decorations?
You might wonder why a paper chain made it to our list of holiday decorations. Well, the charm lies in its simplicity and versatility. Unlike many holiday decorations that can cost a pretty penny, crafting a paper chain is budget-friendly and can be customized to fit your unique style. We love opting for vibrant colors that match our existing decor while also incorporating a little sparkle, like glitter paper or metallic shades.
Last year, we made chains that coordinated with our tree ornaments, and the result was delightful! Plus, involving the kids in creating decorations fosters togetherness and sparks the magic of the season. It’s a wonderful way to keep traditions alive while encouraging creativity.
Gather Your Supplies
Before diving into crafting, you’ll want to gather a few essential supplies. Don’t worry; you likely have most of these items lying around the house! Here is what you’ll need:
- Colored Paper: Construction paper or scrapbook paper works wonderfully. I recommend choosing a selection of colors that resonate with your holiday theme.
- Scissors: Safety scissors for little hands or regular scissors if you’re helping. My kids love to take turns cutting the strips.
- Glue or Tape: You can use glue sticks, double-sided tape, or even washi tape for a fun, easy way to hold the chain together.
- Ruler and Pencil: For measuring and marking if you want your strips to be uniform in size.
- Optional Decorations: Glitter, stickers, or markers to add unique touches and personalize each strip.
Step One: Cut Your Paper Strips
Start by cutting the colored paper into even strips. A good size is approximately 1 inch wide and 6 inches long, but you can adjust based on your preferences. We like to have a mix of sizes for a more whimsical look. My son enjoys using the ruler and pencil to measure, while Lucy takes joy in decorating the edges with stickers and drawings before we even begin connecting them. This step adds an additional layer of creativity, allowing each family member to express themselves.
Step Two: Create Your First Link
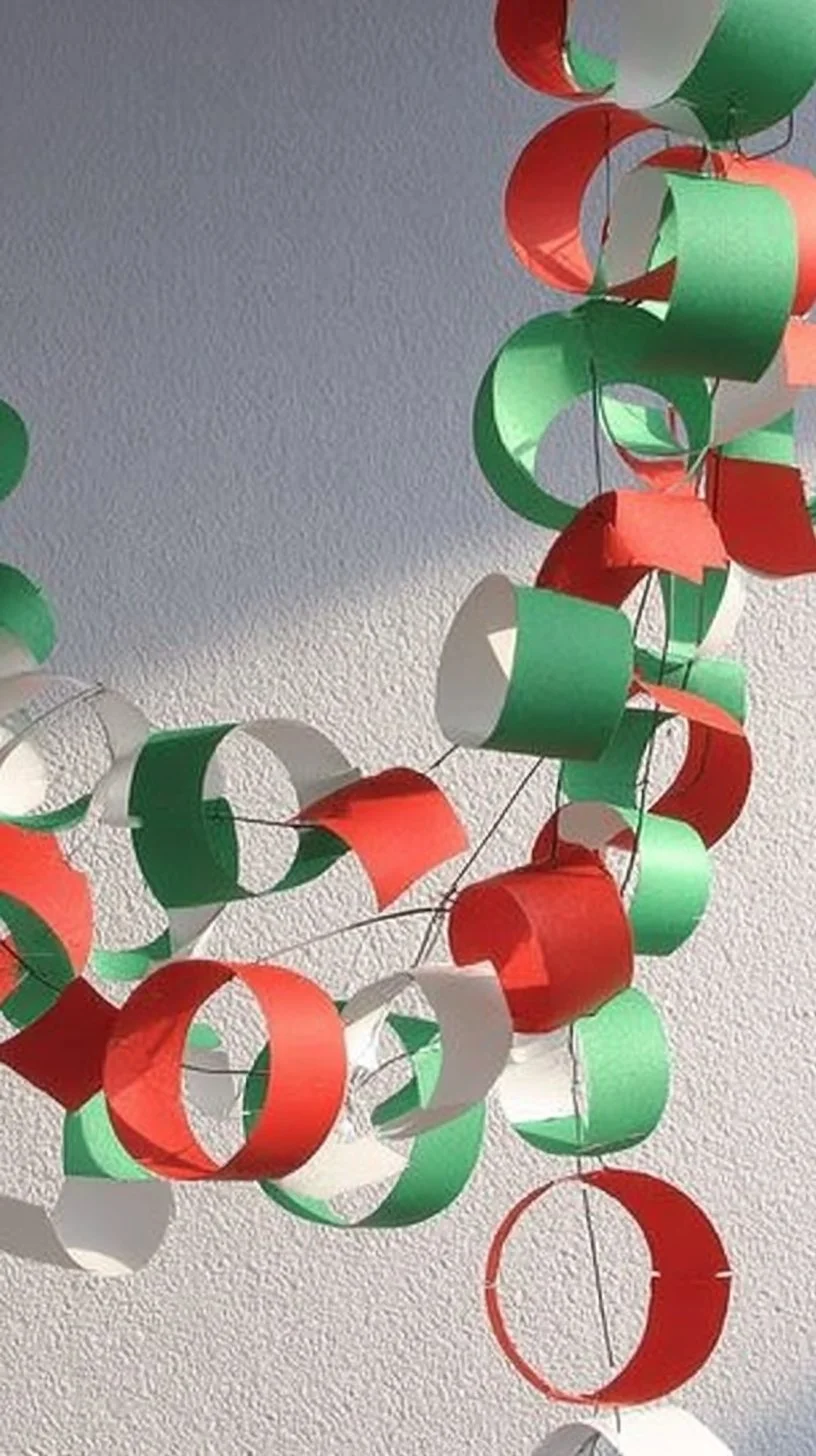
Once your strips are ready, it’s time to create the first link of your chain. Choose a strip and form a circle, overlapping the ends slightly. Use your chosen adhesive to secure it. This part is where my kids’ excitement really kicks in; it feels like we’re creating something magical together! We usually go for a vibrant red or green paper to symbolize the festive spirit, but you could easily opt for blues or golds for a winter wonderland vibe.
Each time we craft a link, the anticipation builds, and before we know it, we have a beautiful chain starting to come together!
Step Three: Link Them Together
With the first link created, it’s time to add more. The next step is simple but takes a little teamwork. Slide the next strip through the first link and repeat the process of making a circle and securing it. We usually alternate colors for a more dynamic look. As we connect link after link, I share stories from my childhood about how we used to drape similar chains around our tree and door frames, making the activity feel even more meaningful.
This year, I caught Danny peeking at our previous year’s chain, and we talked about how we can combine colors from both years to make this one even more splendid. Ideas abound when you allow everyone to inject their thoughts into the project!
Step Four: Hang and Admire
The last step in our crafting journey is the most rewarding: finding the perfect spot to hang our newly crafted paper chain! We usually drape it over our mantle, around the Christmas tree, or even along our stair rail. This year, we are trying something new—tying it around our family’s picture frame gallery to create a festive centerpiece for our living room.
Every time I walk through, I smile at the effort, creativity, and laughter that went into making it. The chains remind us of our lovely memories, and I love witnessing my kids’ pride as they show it off to neighbors and relatives.
Conclusion: Your Turn to Create Holiday Magic
Making a Christmas paper chain is more than just an arts and crafts project; it’s a heartwarming way to make lasting memories with your loved ones. Whether you’re crafting with little ones or indulging in some joyful solitude, this activity will surely spread the festive spirit throughout your home.
So gather your supplies, tune in to your favorite holiday tunes, and let the creativity flow. I would love to hear about your crafting adventures and the unique twists you put on this classic decoration. After all, the holiday season is about embracing joy, creativity, and togetherness in our homes.
Happy crafting and Merry Christmas!