


How to Make Birdseed Ornaments
When I think about simple projects that bring the family together, I picture my kitchen table covered in newspaper, an enthusiastic eight-year-old smudging seed on his cheek, and my ten-year-old daughter carefully pressing a cookie cutter into a sunflower seed mixture. I grew up watching my mother make things with natural materials, and now my husband and I tuck those same memories into our home décor. Neighbors stop by to admire the tiny creations hanging from our porch, and my parents always ask for a dozen more to hang in their backyard. That cozy, hand-made feeling is what I want to share with you: a friendly, guide-to-do-it-yourself approach that blends interior styling with a practical craft the whole family can enjoy.
Gather the right materials and prioritize safety
Before you begin, collect the basics: birdseed mix, unflavored gelatin or a peanut butter alternative, corn syrup or applesauce for binding, cookie cutters or molds, twine or ribbon, and a nonstick surface. Choose a birdseed blend that is fresh and free of dust to avoid mold later. If you have neighbors or children with nut allergies, skip peanut butter and use a seed-friendly binder like gelatin or a fruit puree. Work on a washable surface or lay down parchment paper to keep cleanup simple. Wear gloves if anyone has sensitive skin, and keep tools out of reach of very young kids. These small precautions keep the project enjoyable and safe while supporting a long-lasting result that contributes to your home décor.
Basic recipe and step-by-step method
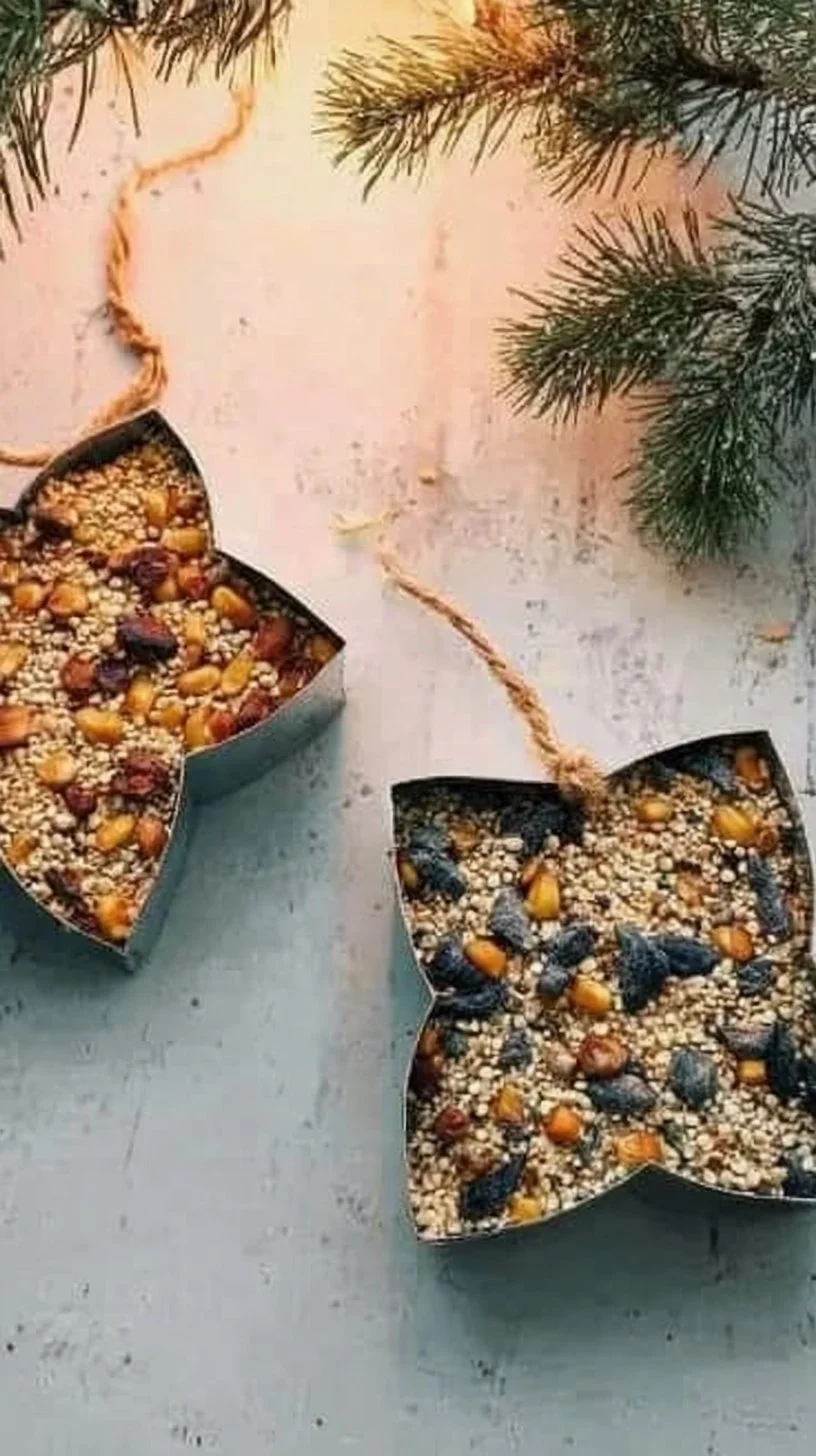
A dependable recipe helps your ornaments hold together without crumbling. Start by blooming one packet of unflavored gelatin in 1/4 cup cold water. Heat gently until dissolved, then stir in 1/4 cup corn syrup or 1/3 cup applesauce for a less sticky option. Pour the binder into 3 cups of birdseed and mix thoroughly until seeds are evenly coated. Press the mixture firmly into cookie cutters or silicone molds on a parchment-lined tray. Poke a hole near the top with a skewer for hanging, then refrigerate for at least two hours. Carefully lift the ornament from the mold, loop twine through the hole, and let it cure in a cool, dry place for another day. This method keeps the ornaments sturdy and easy to display as part of your interior styling choices.
Creative shapes, molds, and textural ideas
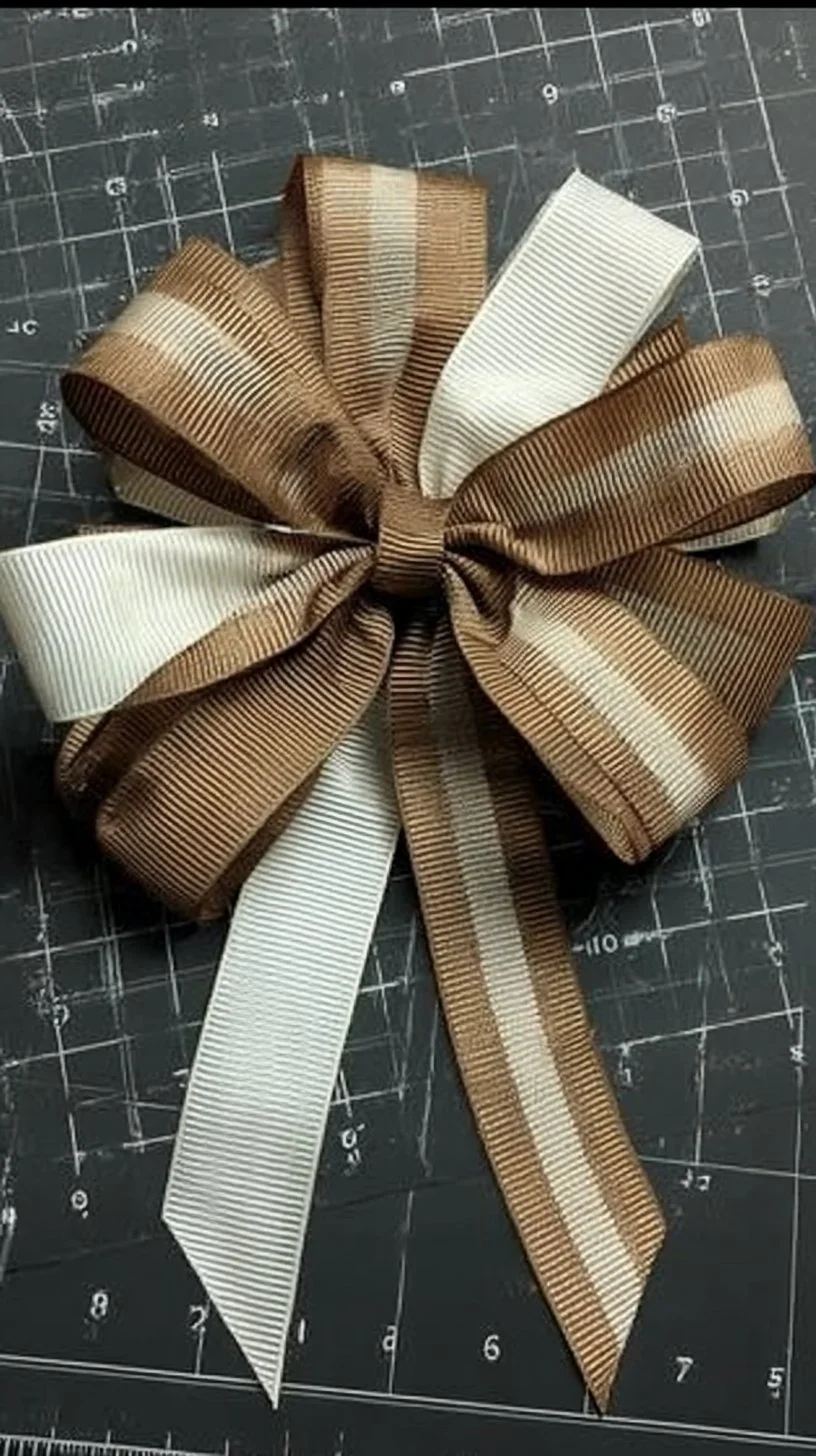
Think beyond plain circles. Cookie cutters and silicone molds offer endless shape possibilities: hearts, stars, mini houses, and leaves all look lovely grouped together. For added texture, press a sprig of rosemary or a thin slice of dried orange gently into the surface before the binder sets. You can also layer seeds for a striped effect by pressing a thin layer of one seed type, then a contrasting one on top before the final press. If you enjoy a rustic look, use twine for hanging; for a more refined accent, choose thin leather cord or satin ribbon. These small styling choices let your birdseed ornaments function as charming home décor elements that reflect your personal interior styling sense.
Display and styling tips for home décor
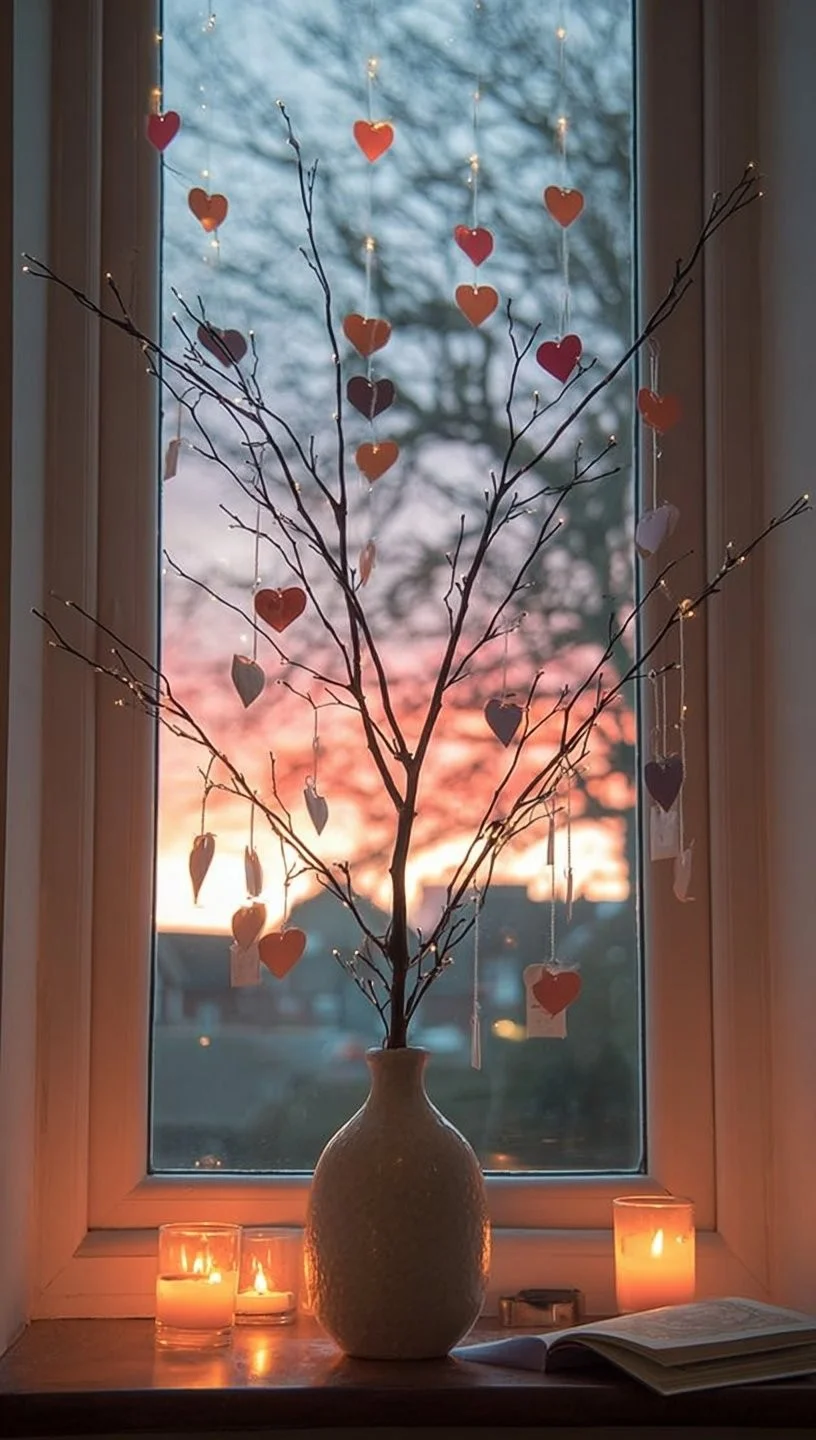
Once your ornaments are ready, plan how they will complement your space. Hang a trio of different-sized ornaments from a curtain rod in a quiet corner, or group several at varying heights on a decorative branch placed in a tall vase for a natural centerpiece. They also look great clustered on a windowsill or tugged into a wreath for year-round texture. Use neutral twine to mesh with minimalist décor, or bright ribbon to add a pop of color in an eclectic room. Consider placing a shallow dish under ornaments that will be near walkways, so any dropped seeds are easy to sweep up. These decorating tips help integrate DIY birdseed ornaments into your interior styling and provide simple inspiration for readers refreshing their home décor.
Weatherproofing, longevity, and placement choices
To help ornaments last longer indoors and near sheltered outdoor areas, consider a light spray of food-safe lacquer or diluted white glue brushed on the back side only. Avoid heavy varnishes if the ornaments will be used around wild birds, and never use toxic sprays. Place ornaments away from direct sunlight to keep seeds from fading, and rotate displays to check for signs of mold or deterioration. If you want outdoor-friendly versions for covered porches, use a sturdier binder like boiling sugar syrup or vegetable shortening blended with seeds, then allow thorough drying. Proper placement and simple protective steps extend the life of your crafts and make them reliable additions to your home décor collection.
Make it a family project with kid-friendly variations
This craft is perfect for involving both children and adults, and it is a great way to introduce kids to interior styling basics. Give younger children small, supervised tasks such as sprinkling seeds, pressing into molds, or choosing ribbon colors. For older kids, challenge them to design a themed set for a room, teaching them about color balance and texture. Turn the process into a friendly competition with simple criteria like most original shape or best color layering. Keep a camera handy to document the process and display a photo strip near your finished ornaments as part of a gallery wall. These activities create lasting memories while reinforcing decorating tips and inspiration for personalizing your home.
Conclusion
I hope these decorating tips and DIY steps inspire you to add a handmade touch to your interior styling. For a detailed recipe and extra step-by-step photos to help you make birdseed ornaments with confidence, check out this helpful guide: Birdseed Ornaments – Fountain Avenue Kitchen. Try a small batch first, involve the kids, and let your home décor evolve one charming ornament at a time.
0 Comments